My blog uses Octopress which is basically Jekyll plus a whole bunch of plug-ins preconfigured and it is hosted on GitHub Pages. But sometimes I really miss being able to simply create or edit posts online. I started looking around and found Prose.io.
Prose is an awesome open source online Jekyll site editor for GitHub. Then if we setup TeamCity to automatically regenerate and deploy our blog when we make any commits we have a really simple way of making quick blog posts online.
Here is a quick rundown of creating a new post with Prose. If you are only interested in the automated TeamCity deployment just skip this section.
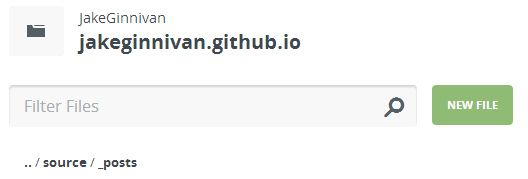
- Go into the _posts folder, then click New File
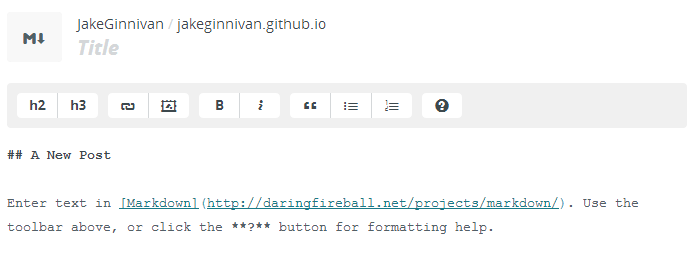
- Add a title and write your post
- You can define your yaml metadata defaults for prose in your _config.yaml, giving you a nice UI
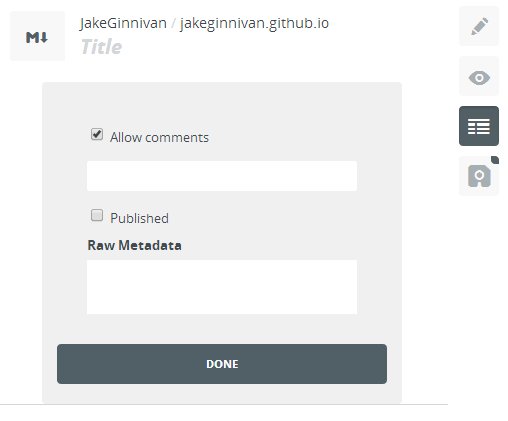
When you hit save Prose will commit that file, pretty sweet. note if you do not create the file in the _posts folder you will not see the meta-data options. note2 Image uploading is broken at the moment, hopefully this gets some love soon
My Prose Config
You can configure Prose by adding some additional metadata in your _config.yaml file. Here is mine:
# ----------------------- #
#   prose.io settings     #
# ----------------------- #
prose:
  rooturl: "source"
  site: "http://jake.ginnivan.net"
  media: "source/assets/posts"
  metadata:
    "source/_posts":
      - name: "layout"
        field:
          element: "hidden"
          value: "post"
      - name: "title"
        field:
          element: "text"
          value: "Title"
      - name: "comments"
        field:
          label: "Allow comments"
          element: "checkbox"
          value: true
      - name: "categories"
        field:
          element: "text"
          value: ""
      - name: "published"
        field:
          label: "Published"
          element: "checkbox"
          value: true
Read more about Prose Configuration.
Setting up continuous deployment from TeamCity
The next step is I want TeamCity to automatically regenerate my Octopress site and push it to GitHub. This also assumes you have your site setup as a user site
- Install everything you would need to get Octopress building locally on your build server
- Create new build
- Add VCS root pointing at
source - Set TeamCity Checkout mode to checkout on agent
- Add
Command LineBuild Step with Exe ofbundleand Parameter ofinstall. This will install all the dependencies Octopress needs Next we need TeamCity to clone our repo into the
_deploydirectory, we can do this with another Command Line build step with the Run parameter set to Custom Script (the reason forgit checkout masteris that I have the source branch set as default, and the _deploy branch needs to be on master)if not exist _deploy (git clone https://%GithubUsername%:%GithubPassword%@github.com/%GithubUsername%/%GithubUsername%.github.io.git _deploy) cd _deploy git checkout master cd ..The last build step is to regenerate and deploy our Octopress site. Add a
Rakebuild step with the path set toRakefileand the task set togen_deploy. Make sure the bundle exec option is checked- Now setup a VCS build trigger so we deploy whenever anything changes
- Finally go to the Parameters section of your build configuration. There will be two parameters needing values, GitHubUsername and GitHubPassword. GitHubUsername is easy, just put your username in.
- For GitHubPassword click on
Editnext to Spec, then set Display to Hidden and Type to Password. This will make sure your password does not show up in build logs and will be ****’d out instead.
Save your build configuration, and now whenever you push any updates to source your blog will be regenerated and deployed.
Enjoy!